10 Creative Ways to Transform Loops - Part 2/2
Credit: @Poldoore
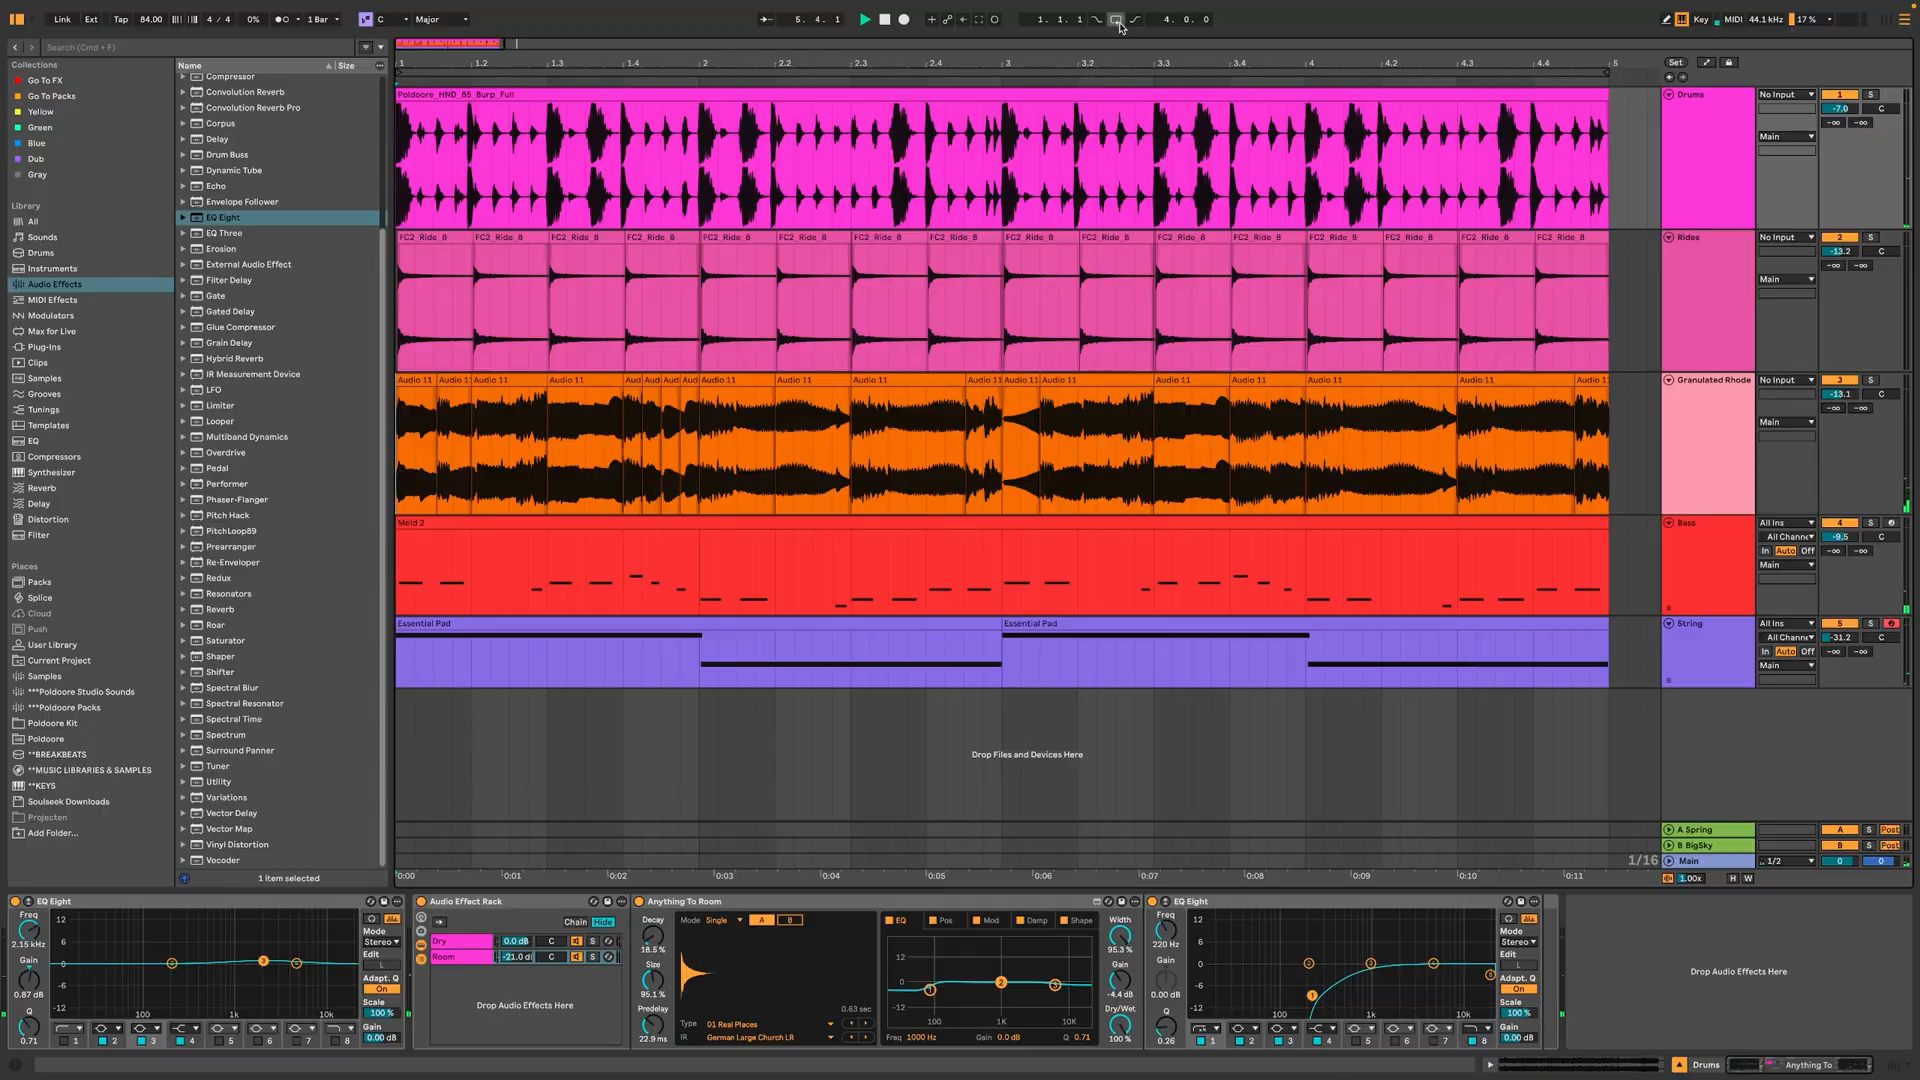
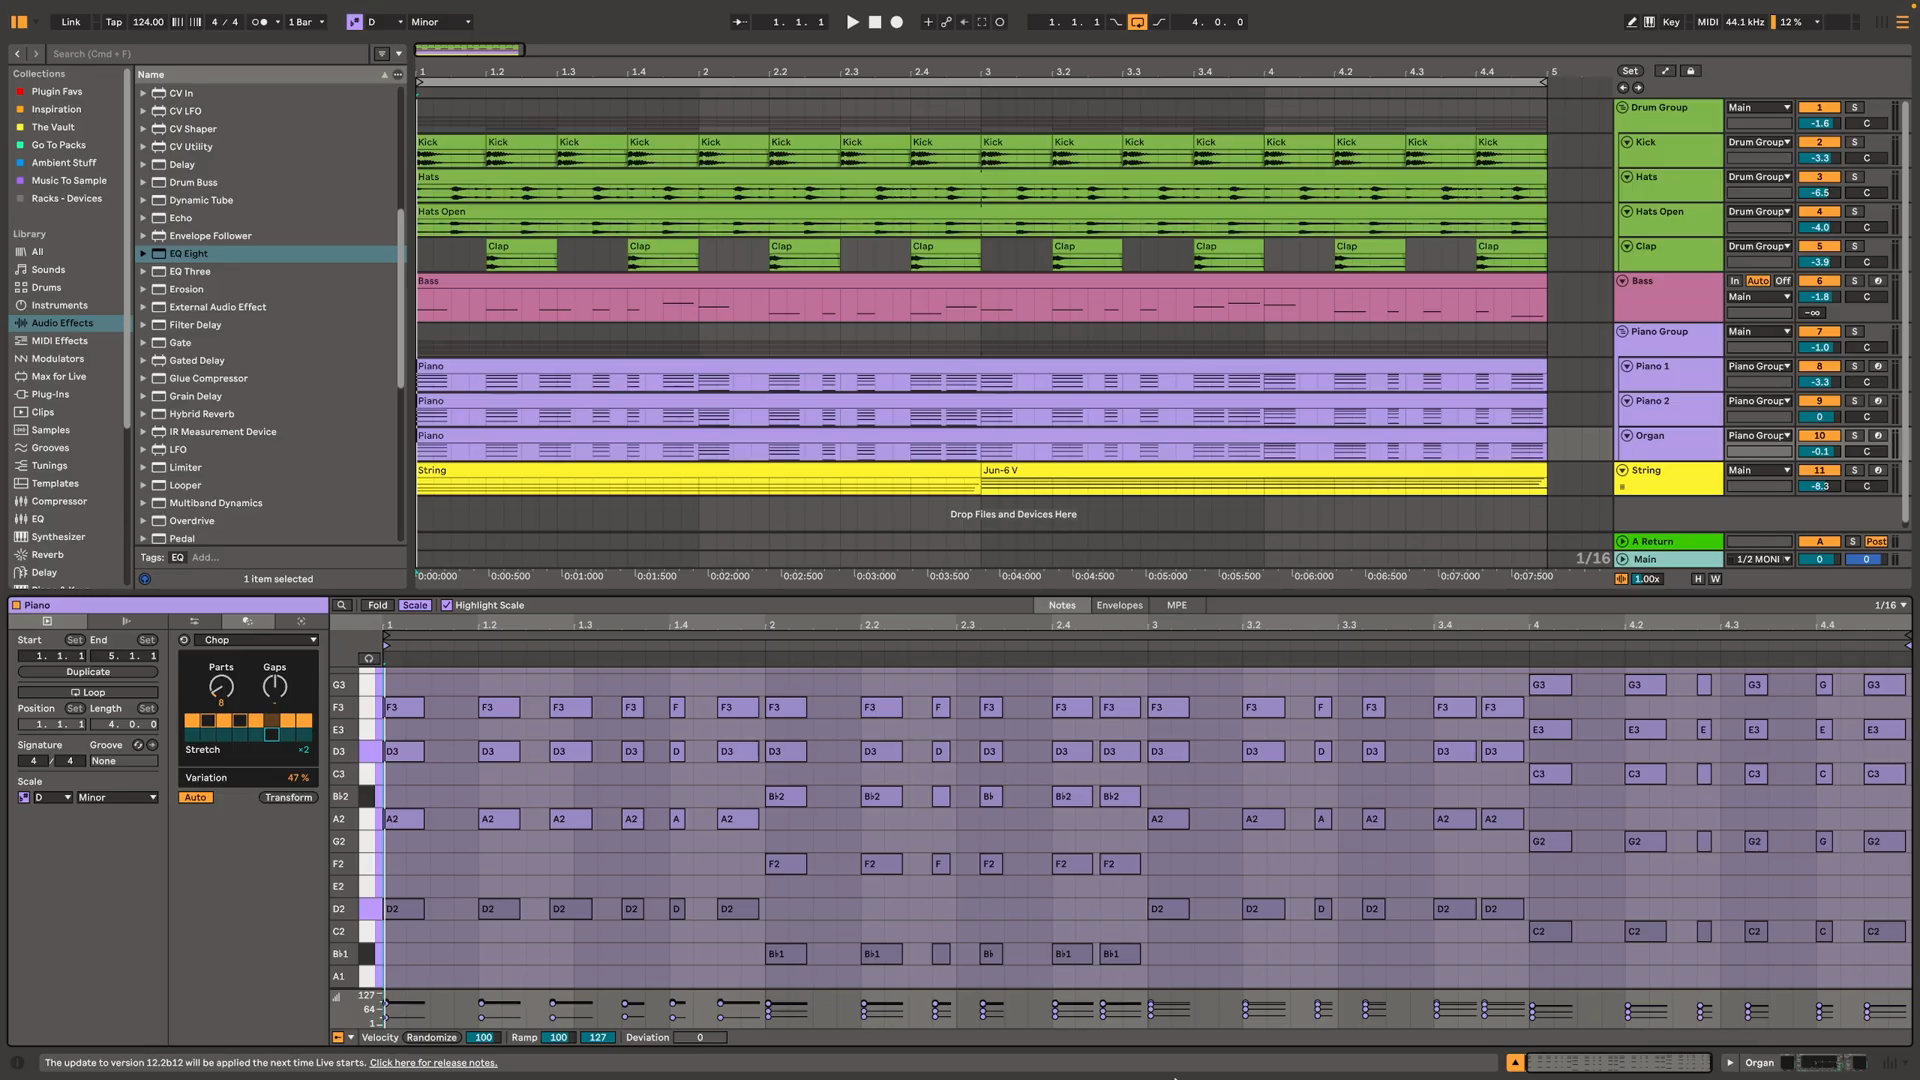
MIDI transformations
Key idea:Convert audio loops to MIDI using Ableton Live's harmony detection, then use pitch utility and MIDI transformation tools to create completely new melodic patterns from the original chords.Process / settings:- Right-click loop and choose "convert harmony to new MIDI track" in Ableton Live
- Enable
highlight scaleandscaleat top of MIDI clip to identify and delete out-of-key notes (non-highlighted in purple) - Use "fit to time range" to convert messy notes into long sustained chords covering the whole selection
- Apply pitch utility transformations:
invert(shifts notes upside down) orreverse(changes chord order) - Use
arpeggiatetransformation to print arpeggiated notes directly into clip for bass arps - Use
choptransformation for rhythmic staccato patterns: adjustgapsvalue (controls note skipping),parts(sets number of chop notes),variation(randomizes start times), deselect yellow squares to remove notes, blue squares to emphasize notes
Result:Transform basic chord loops into bass arps, bouncy syncopated piano rhythms, or completely different chord progressions with altered feel and pitch.Notes:Live 12 introduces the "fit to time range" feature and new MIDI transformation tools. The chop transformation is particularly effective for creating classic '90s Chicago house piano rhythms.
00:19 → 06:05

Ethereal sweeps
Key idea:Convert vocal samples or any sound into atmospheric risers by applying heavy reverb with100%wet signal, reversing the tail, and layering multiple pitch-shifted versions to create smooth transitions between sections.Process / settings:- Pitch vocal sample to match project key (example:
-2semitones) - Add reverb with disabled input filter, high-end diffusion network boosted for airy tail
- Set reverb
dry/wetto100%anddecay timearound15 seconds - Bounce to audio, crop reverb tail, reverse it, and place before transition point
- Build audio effect rack with three chains: original pitch,
+5semitones,-7semitones (12 semitones below the +5 chain) - Pan original and +5 chain to opposite sides for wider stereo field
- Add EQ to clean up low-end rumble
- Sidechain sweep to kick using low-pass filter on sidechain input to isolate sub-frequencies, adjust threshold for pumping effect
- Pitch vocal sample to match project key (example:
Result:Creates ethereal chord-like vocal sweeps that smoothly carry the listener into drum sections with atmospheric, almost angelic quality and pumping movement.Notes:Works beautifully to introduce specific instruments by using their first note to generate the sweep (example from track "Unconditional" using trumpet solo's first note). Can duplicate and flip reversed sweep back to normal for a smooth down-sweep that eases out the transition.
06:05 → 11:12
Ambience pads
Key idea:Transform field recordings into playable cinematic pads by using multiple narrow EQ bands to boost specific note frequencies, creating resonant tones that shift in pitch when played as a MIDI instrument.Process / settings:- Load field recording (example: rainy forest ambience)
- Add ProQ4 and open piano roll with piano button (bottom left)
- Double-click desired notes (example: C notes across multiple octaves)
- Set
Qto maximum and boostgainall the way to top (+30 dBmax per EQ) - Duplicate EQ and use second ProQ to fine-tune balance by adjusting percentage
- For stock EQs without piano roll: use note frequency chart to manually type frequencies for each band
- Bounce to audio, drop into Simpler, and normalize to hit full volume without clipping
- Set very slow
attackand longreleaseto create pad envelope
Result:Transforms everyday field recordings into unique cinematic pads with raw, evolving textures where the recording shifts in pitch as you play different notes, creating a Burial-style atmospheric quality.Notes:Works with any field recording or ambient sound. Using narrow EQ bands with maximum Q and high gain creates resonances at specific frequencies.
11:12 → 14:00

Granulate & chop
Key idea:Use granular synthesis to slice audio into tiny fragments (grains), manipulate them with LFOs and randomization, record the variations, then chop the results into dynamic rhythmic textures.Process / settings:- Load sample into Granulator (granular synthesizer that replays audio by slicing into grains from few milliseconds to several seconds)
- Use
positiondial to set playback spot in sample - Raise
scancontrol to move playhead forward automatically from position (value shows scanning speed relative to original pitch) - Pitch sample (example:
+2semitones for extra sparkle in high end) - Route Granulator output to audio track with subtle reverb on return track
- Modulate parameters with built-in LFO:
shape(controls grain fade in/out for stuttery choppy effect),variation(randomizes grain starting points), position (for contrast between slow fade-ins and sharp plucky textures) - Record while tweaking parameters to capture varied textures
- Chop recording into rhythmic loop
- Process with light OTT multiband compression (around
13%), EQ with low-end tightening and2kHzboost for clarity - Add audio effect rack: chain 1 with ping-pong delay for stereo depth, chain 2 with Shifter pitched up one octave with envelope follower modulating gain
- Heavy sidechain to kick drum, add limiter to catch peaks
Result:Transforms static loops into textured, dynamic layers with wonky glitchy soundscapes, creating ethereal movement and real life in beats.Notes:Goal is capturing many different textures by tweaking position and modulation for variety. Creating contrast between slow and plucky parts makes chopping more interesting. Example uses Rhodes loop transformed into granular texture.
14:00 → 20:16
Static to dynamic
Key idea:Use envelope followers to map one sound's volume envelope to control parameters of another sound, turning static loops into dynamic, groovy sequences with movement across volume, frequency spectrum, and effects depth.Process / settings:- Add envelope follower to source sound with strong transients (example: trumpet loop with short punchy notes)
- Place amp on target sound (example: bass loop) and map envelope follower to amp's
input gain - Adjust envelope follower
gainto increase response strength - Adjust
fallparameter to control how quickly follower drops back down - Lower amp's
input gainto shift envelope movement downward - Add second envelope follower mapped to amp's
presencefor frequency spectrum movement - Use
delayparameter to make modulation lag slightly behind input signal - Add third envelope follower mapped to reverb chain volume for subtle bursts of room ambience
- Add fourth envelope follower mapped to short delay time (few milliseconds) in ping-pong mode for floaty width
- Can map same follower to multiple parameters using modulation menu, or use separate followers for different parameter values
Result:Transforms smooth legato loops into dynamic sequences with movement in volume, distortion, frequency content, spatial depth, and effects, creating both aggressive or laid-back ambient textures depending on settings.Notes:Works with various sounds: bass grooves, arps, synth jams, or granulated recordings. Example also maps envelope follower to chorus amount, vibrato (via map submenu), and grain delay dry/wet for ambient plucks. Possibilities are endless for creating evolving, dynamic sounds.
20:16 → end